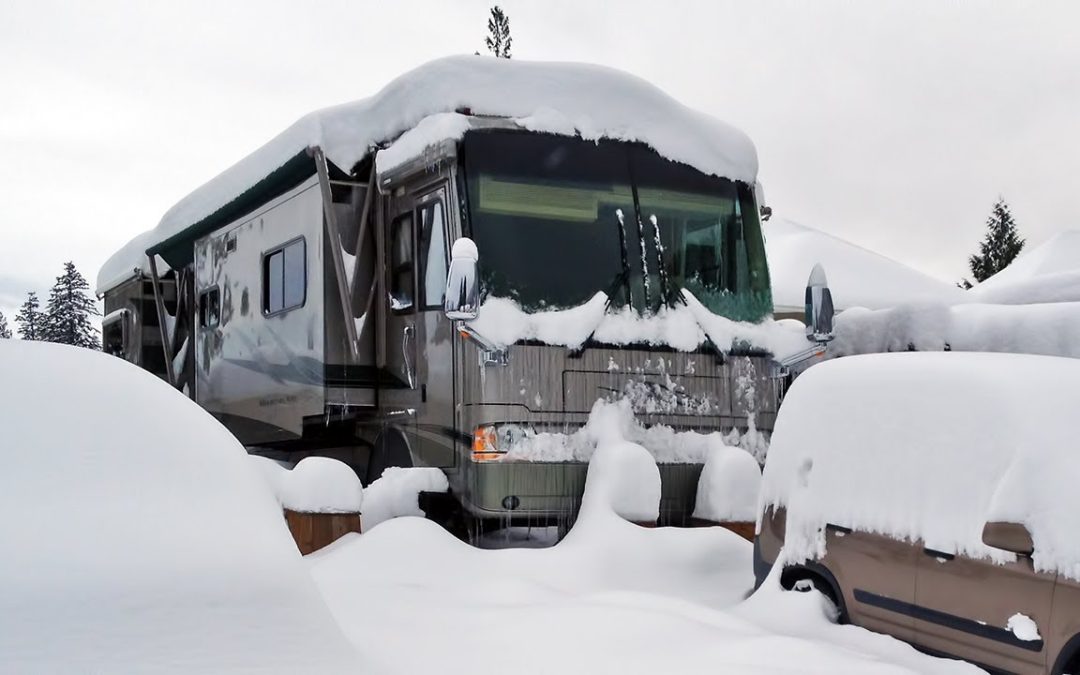
Well another Winter is upon us. And I am on the way to my second year as a full time RVer. Yes, I live full time in my RV. More about that later.
I must confess that my first year wintering in my new (well new to me) Bounder was an eye waking experience. I tell any of my new neighbors that if there was a mistake to be made, I made it. And it cost me. Cost me in comfort and it hit my pocket book to repair damage that could have easily been avoided… if I only knew then what I know now.
So.. in an effort to prevent YOU from making some of those same ugly mistakes that I made, I want to share with you another great article I found on “How to Skirt Your RV in the Winter”.
DIY: How to Skirt Your RV in the Winter
RVs and freezing weather don’t exactly go hand in hand. But with the right preparations, it can still be a successful and enjoyable experience.
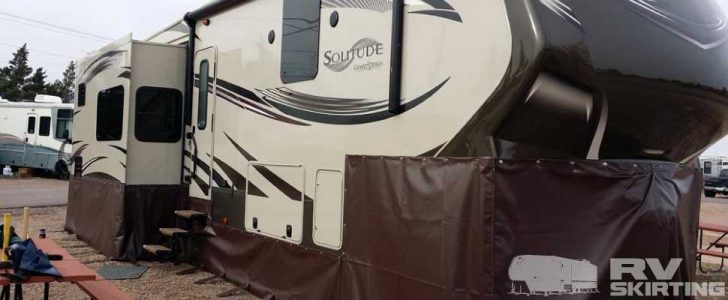
Skirting an RV means putting material around the bottom of the rig to keep its nether regions protected from the cold.
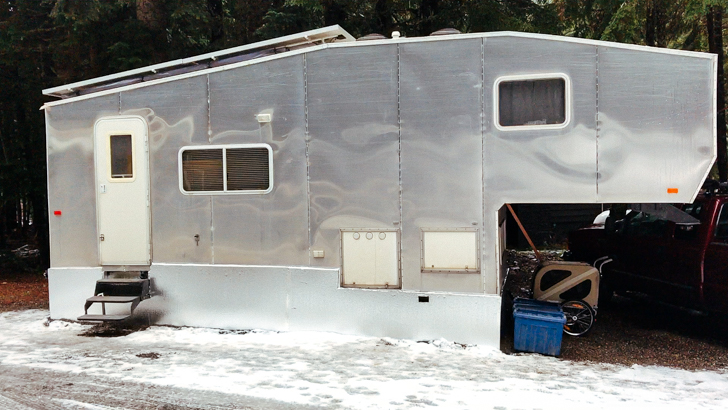
Photo by Live Small | Ride Free
This is one of the most important things to do if you’re staying somewhere that gets below freezing (don’t forget wind chill) for long periods of time. Especially if your rig doesn’t come with a winterized set-up that includes a covered and sometimes heated underbelly, heated tanks, etc.
Even if your rig does come ready to survive the winter weather, it’s still smart to skirt your rig because it helps keep it warmer inside the rig, which means you don’t have to run the heater as much.
While you can skirt an RV with any material you want, these are the popular ones with RVers…
- Vinyl material that snaps around the RV
- Plywood
- Thick plastic sheet
- Styrofoam boards
- Snow
We decided to spend the winter season in the snowy mountains of Washington and this meant we had to skirt our fifth-wheel.
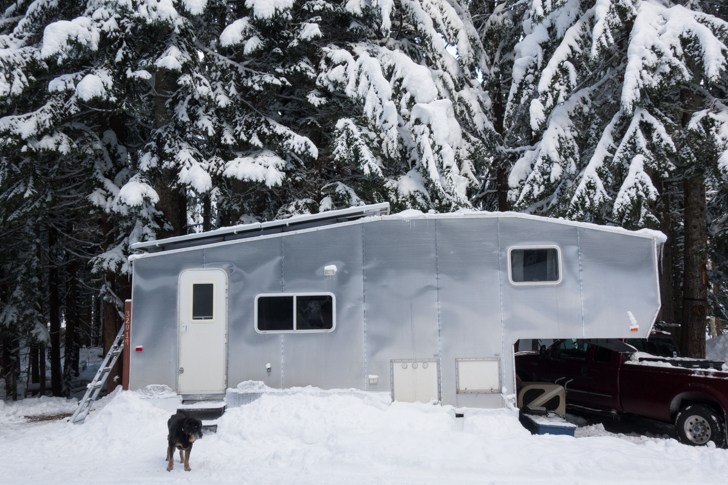
Photo by Live Small | Ride Free
We chose 1-inch thick R-Tech, which is a foil faced Styrofoam board, and then piled snow on top of that. The snow actually increases the underbelly temperatures by several degrees (it plugs in any gaps).
We also purchased a 500-watt light to use under the rig when temperatures drop below 20 degrees. The light has been effective in keeping our under carriage from freezing into single digit temperatures.
The leftover cut pieces of R-Tech were used to plug directly into the gap around the outside of the slide for insulation.

Live Small | Ride Free
Styrofoam boards are a lot easier to manage and work with than plywood.
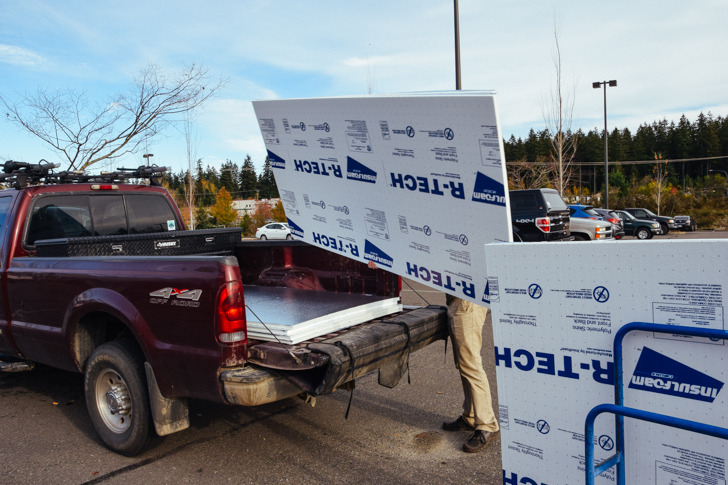
Live Small | Ride Free
You don’t need a saw to cut Styrofoam, just a regular knife. It’s also cheaper than plywood, and the only tape is necessary to attach the boards to an RV.
Vinyl material is a better choice than Styrofoam, mainly because it’s reusable. However, it is expensive, heavy, and it takes up valuable space that we don’t have, especially if we aren’t traveling somewhere cold.
Skirting an RV isn’t very hard to do, and it only requires a handful of tools. Here’s what we used:
- R-Tech Styrofoam 1-inch thick boards
- 3M Silver Foil Tape
- Knife
- Shovel
- Long straight edge
- Sharpie
- Blow dryer (weather dependent)
- Umbrella (weather dependent)
And here’s how we did it:
What do you think? Would you like to skirt your RV – or have you already done so for the winter? We’d love to hear your thoughts and comments below. And Please share this article if you found this article helpful.
Articles that You May Find Helpful:
- 3 Ways To Keep Warm When RVing In Winter
- The Solid Truth About Number Two
- 7 RV Tire Maintenance Tips to Prolong the Life of your RV Tires
Looking for a place to stay in SW Missouri? Come on by. Blue Skys RV Park has both short term and long term parking. We are a no frills, affordable, family friendly place to stay. Free Wifi and a laundromat. Whether you are looking for overnight, weekly, or long term, Blue Skys RV Park is the place to be. The owners will go above and beyond to make your stay a pleasant one. Check us out: https://blueskysrvpark.com

