
One of the biggest challenges I see with new RVers is how to level your rv right the first time. I have seen rvs leaning forward, backward, and both left and right. I remember when I first started rving, although I had an auto leveling system, I still didn’t always get it right the first time… or the second.. and sometimes the third.
This basic skill of leveling your rv is the first of many that new rv’ers will have to learn.
Leveling your RV is one part of RVing you need to get right the first time. Because no one wants to be stumbling around their RV, sleeping off kilter, or catching a swinging door to the face, we’ve got you covered with a simple guide to leveling your RV.
How to Level Your RV Right The First Time
In this guide, we’ll go over manual leveling of an RV and leveling with an Auto-Leveling System.
With a level RV, you’ll be on your way to a good night’s sleep. You’ll also be ensuring the proper function of your propane fridge if you have one. And, most of all you’ll be ready to kick off a relaxing camping trip.
Tools Needed To Manually Level Your RV
Many RVs will not be equipped with an auto-leveling system. So, before you ever arrive at your first campsite, you must know how to manually level your rig.
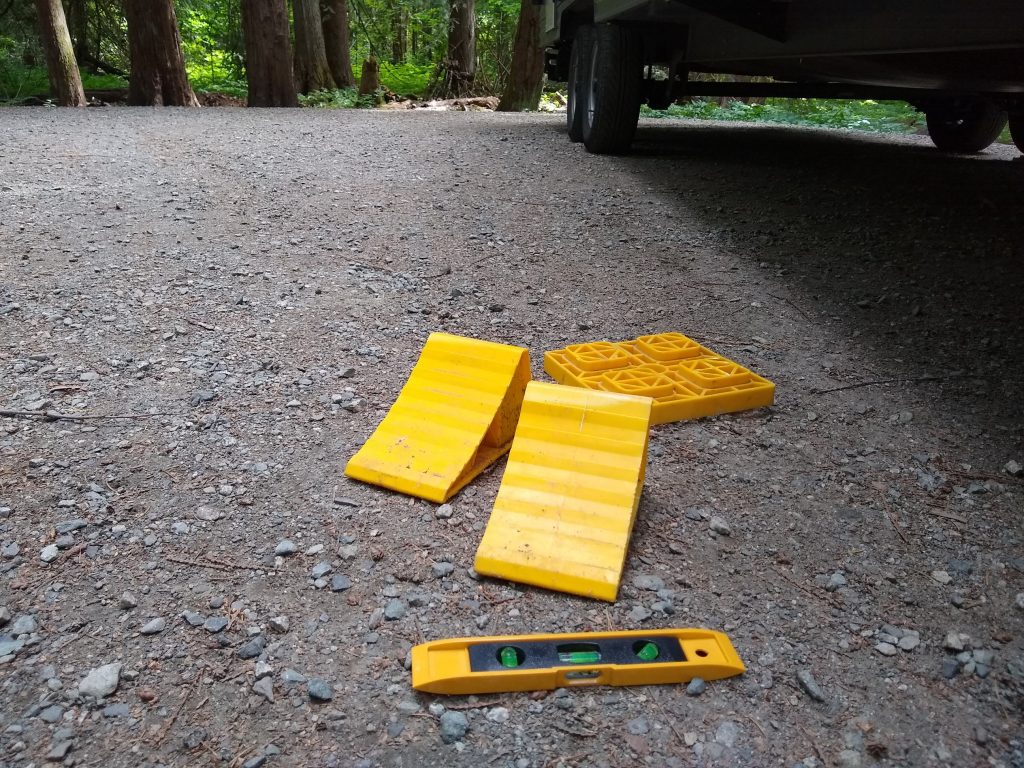
What You Need To Level a Towable RV
- A bubble level
- Blocks (or 2 x 6 pieces of wood, if you prefer)
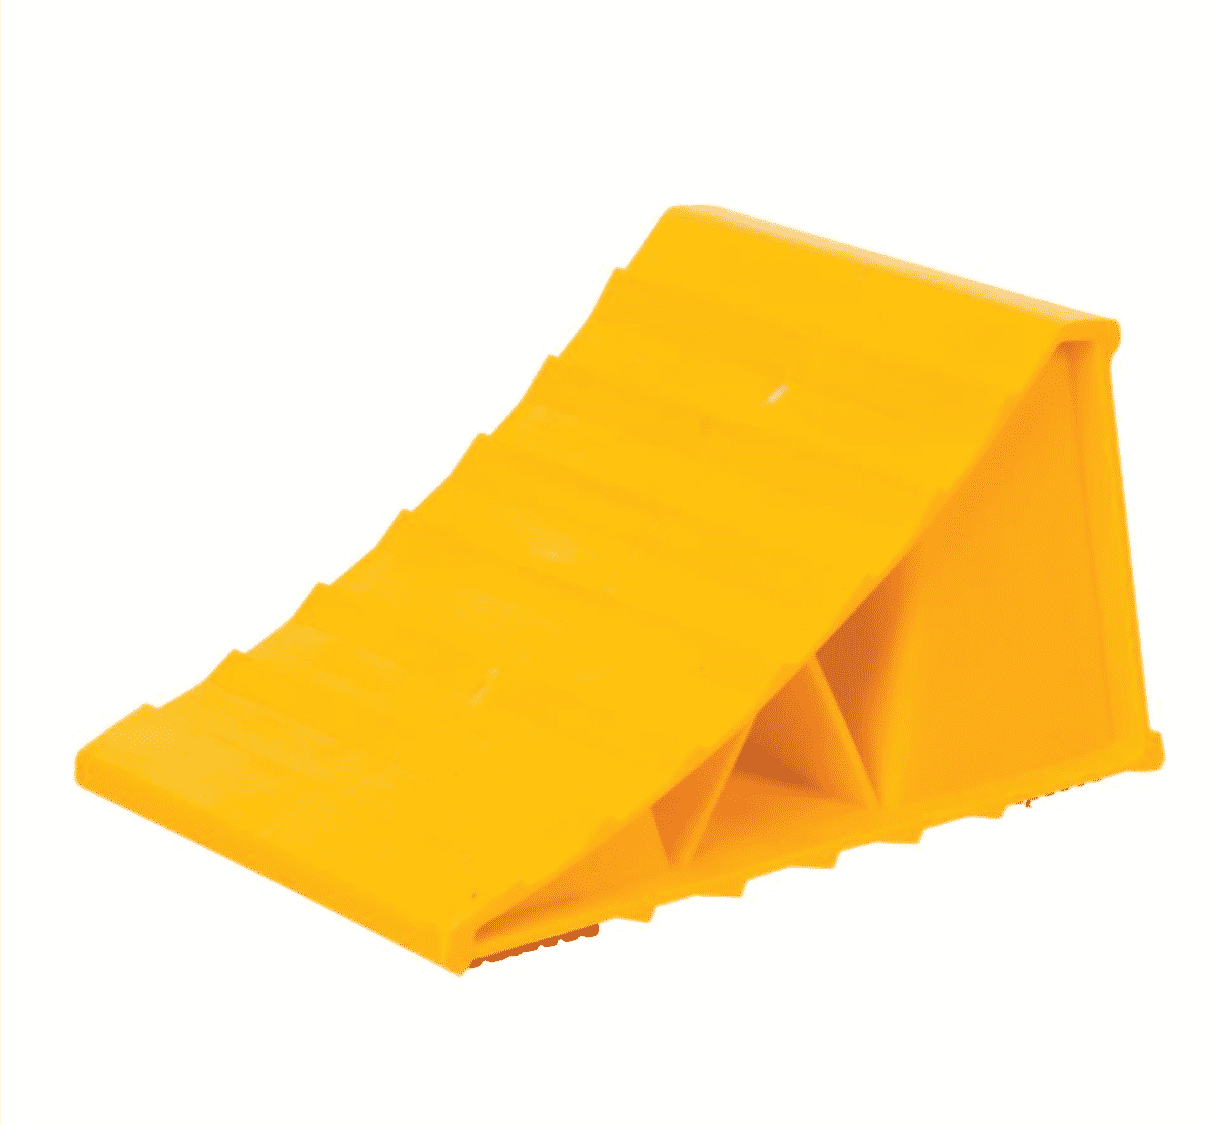
- Wheel chocks (Very important because towables don’t have transmissions or parking brakes of their own!)
What You Need To Level a Motorized RV
- A bubble level
- Blocks (or a few 2-inch by 6-inch pieces of wood if you prefer)
With those items packed, you’ll be ready to level your RV when you set up camp.
How To Manually Level Your Towable RV
You will need to level your RV both left to right and front to back. Here are the steps you need to know to get your rig level.
Leveling Your RV Left to Right
Use Your Bubble Level
1. As you are pulling into your campsite, try to get as close as possible to being level left to right. TIP: Rolling forward or backward as you’re pulling can help you get close to level left to right.
2. Using a handheld bubble level (or a built-in level inside your RV) check your level left to right. TIP: Some good spots to place that handheld bubble level are on the RV floor, the RV’s rear bumper, or a countertop.
Go Up On Blocks
3. If you’re not level, grab your set of blocks. To get level left to right you’re going to raise your left tires or your right tires by pulling the RV onto blocks.

leveling blocks
4. Decide if you need to raise the right tires or the left tires to become level left to right.
5. Look at the angle of your campsite and trailer. Decide if it will be easier to roll back onto blocks or to pull the RV forward up onto blocks. If you’re going to roll back, place your blocks behind the wheel. For pulling forward, lay the blocks in front of the wheel. TIP: If you’re close to level, try going up on just one block. If you’re off by a bit, try going up onto two blocks.
6. Check to see if you are now level. If you’re not yet level, you may need to add another block. TIP: Make it easier to drive up (or roll back) on the blocks by building a platform––for example, use five blocks to make a kind of ramp or slope to go up the height of two blocks
Chock Your Wheels
7. Now that you are level from left to right, do NOT unhitch. Instead, grab your wheel chocks and chock the wheel that you did not raise up blocks. Place a wheel chock on both sides of the tire so that your camper can’t roll.
Unhitch
8. With both wheel chocks firmly in place, you can now go ahead and unhitch.
Level Your RV Front to Back
Use Your Bubble Level
1. Grab your bubble level one more time, but this time check the level of your RV front to back.
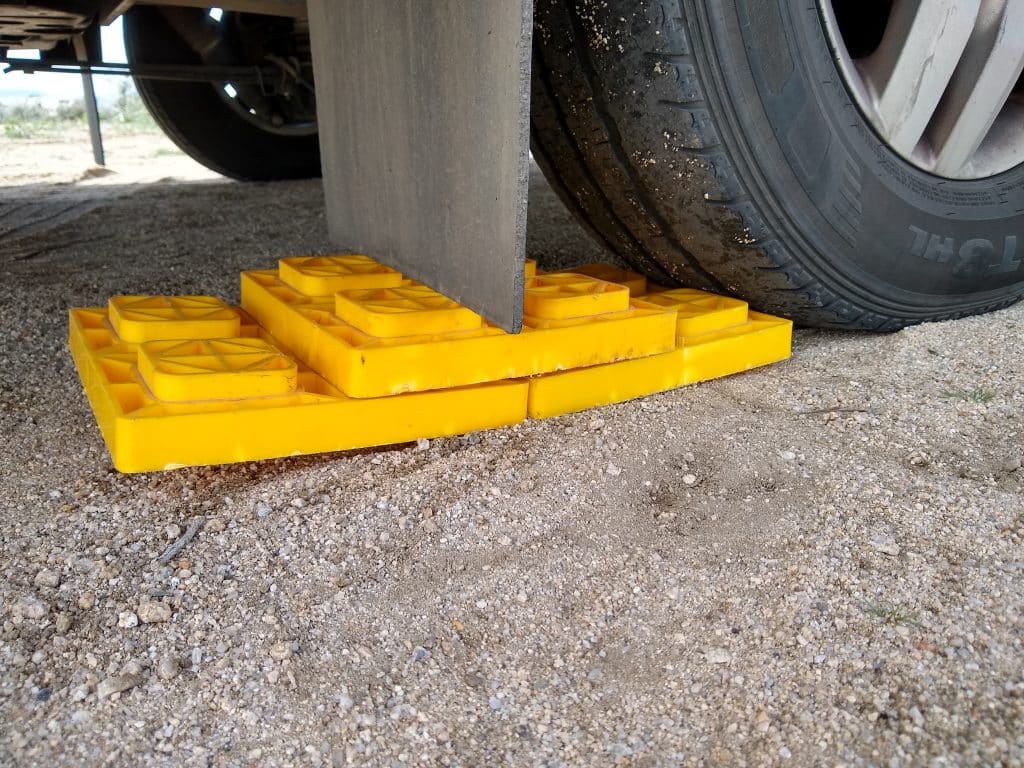
Adjust the Jack
2. To get your RV level front to back, adjust your level by either lowering your Fifth-Wheel’s Landing Jack, or your travel trailer’s A-Frame Jack, onto blocks. Some jacks are power jacks and some are hand-crank jacks.
Stabilize
3. Now that your RV is level, lower (or place) your stabilizers. Be sure there is equal pressure on all of them.
4. Now that your RV is both level and stabilized, you can extend your slides if you have them.
How To Manually Level Your Motorhome
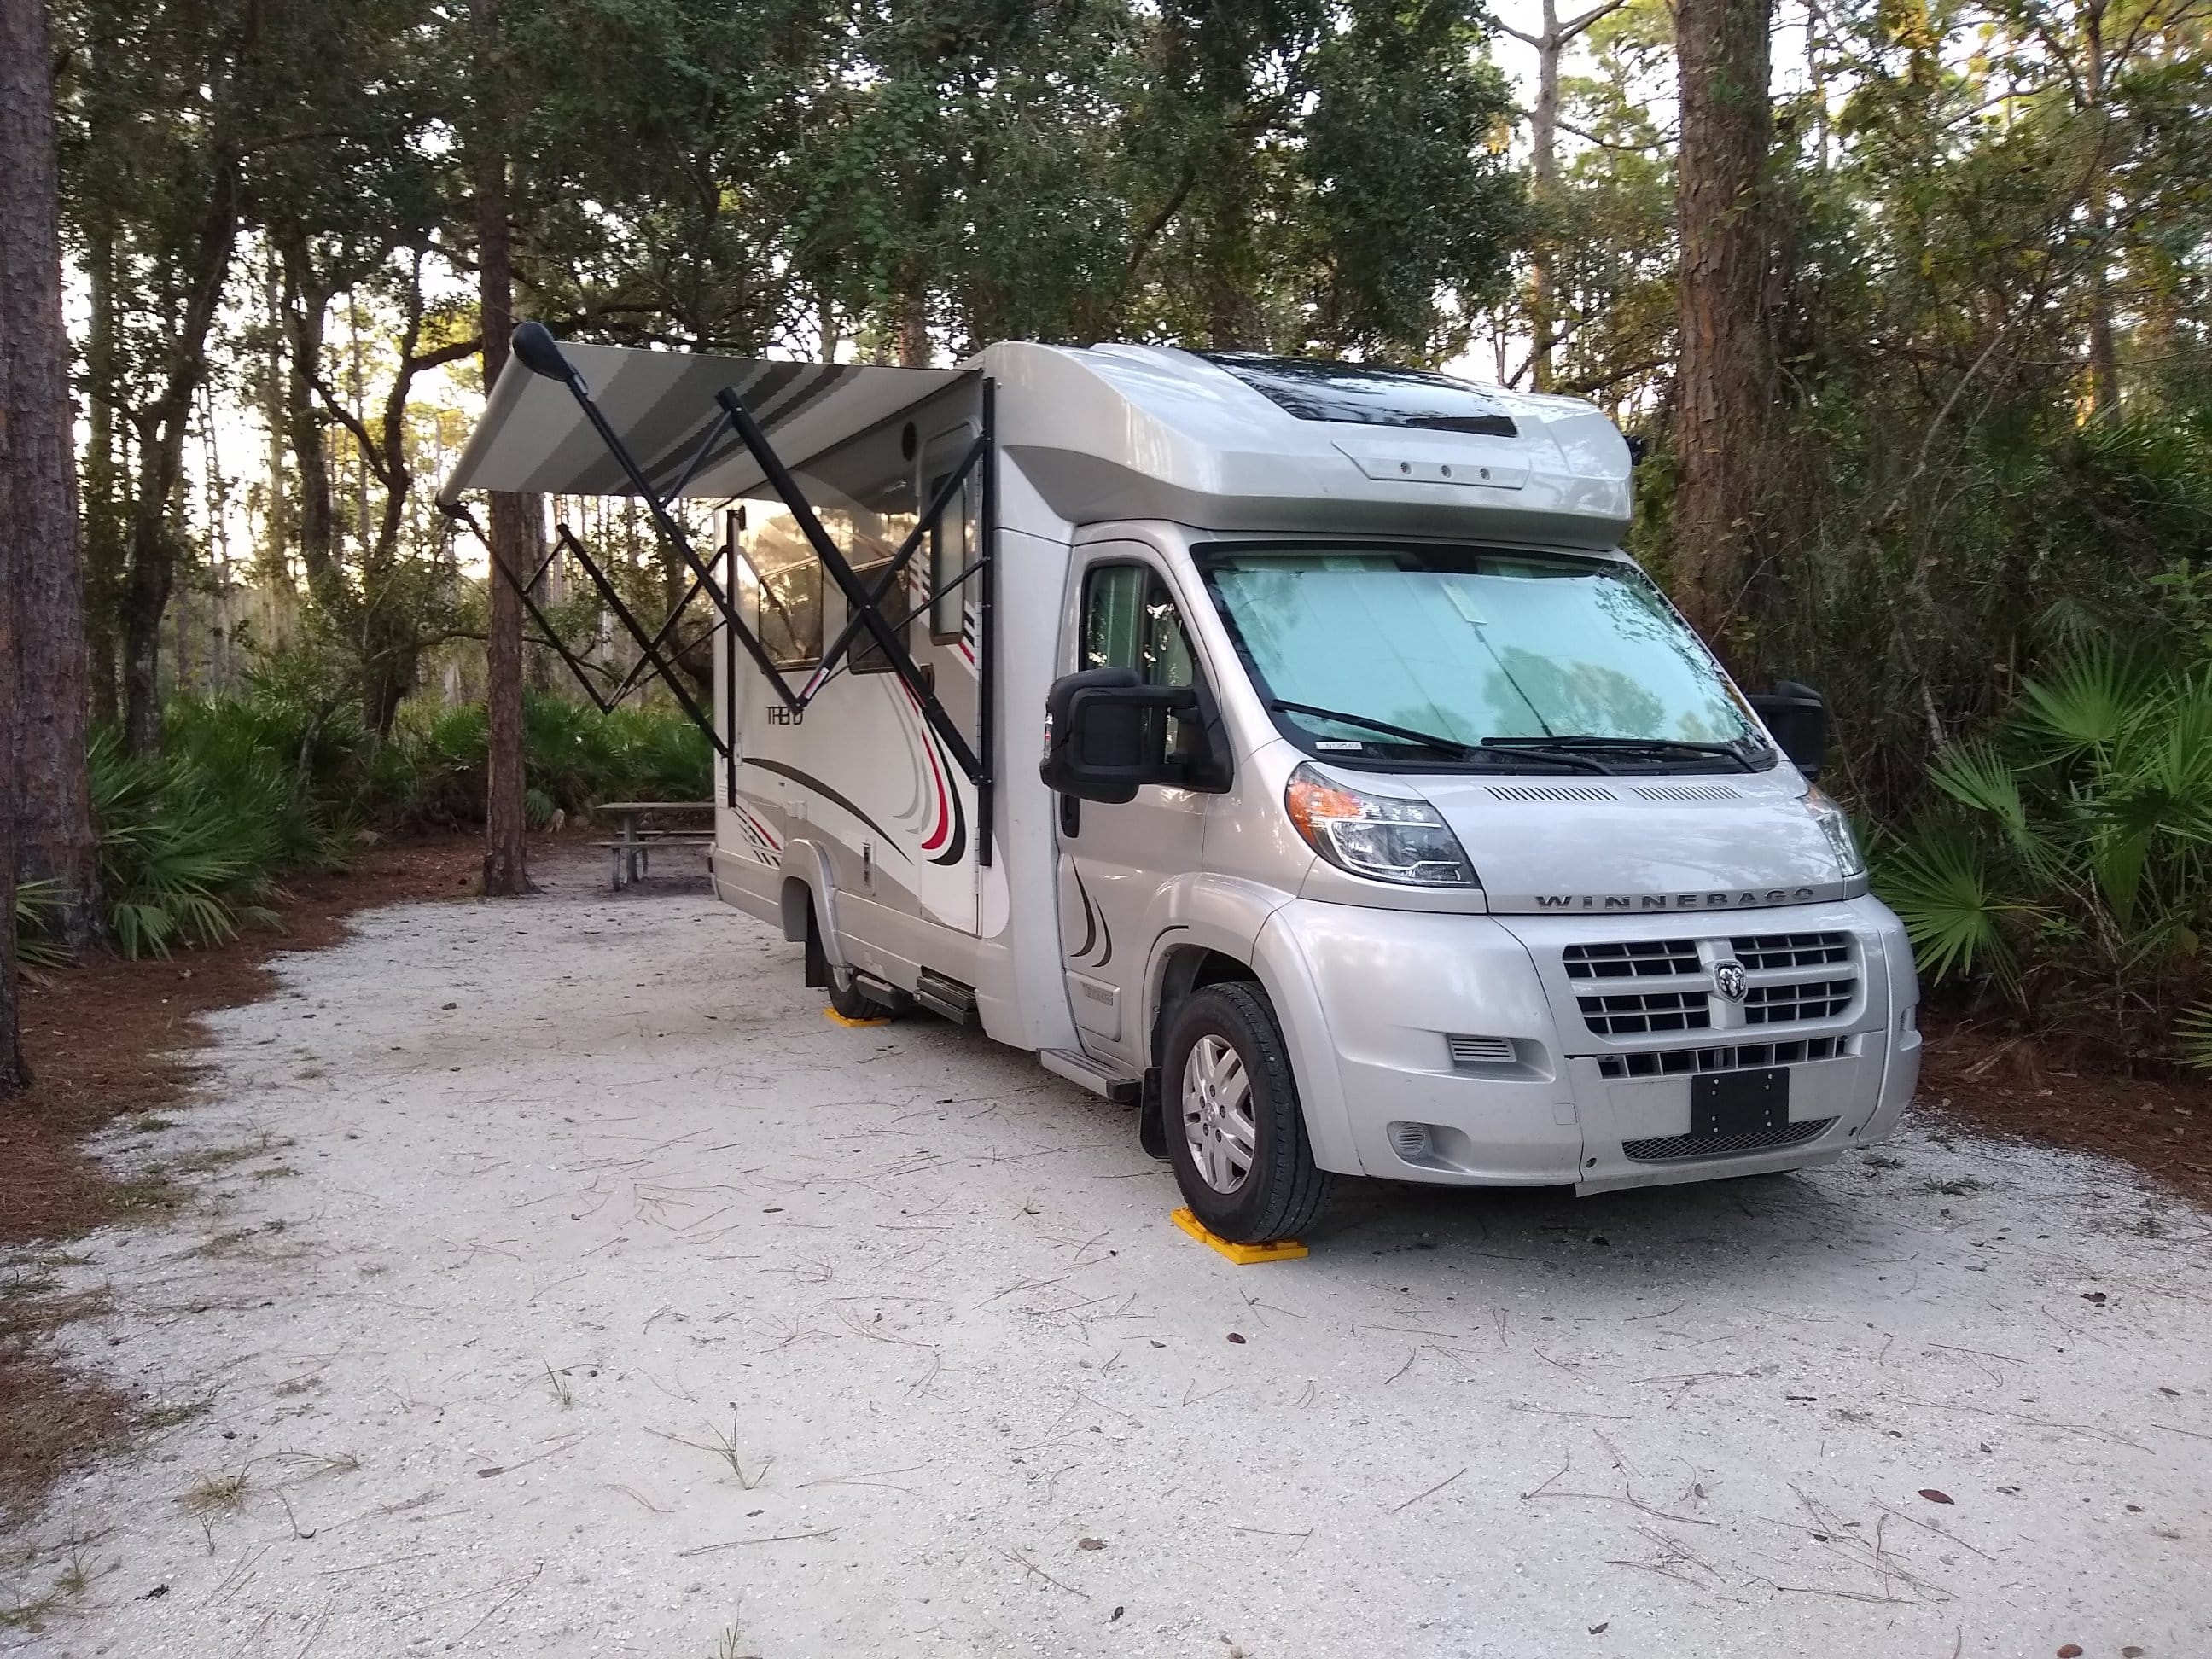
Many Class B and Class C RVs won’t have an auto-leveling system, so you’ll need to manually level your motorized RV when you arrive at your campsite.
1. Grab your bubble level and check your level both left to right and front to back. A countertop can be a good spot to place the level. TIP: You might be able to level your RV just by raising one low corner onto blocks, so check your level both left to right and front to back before you start.
2. If your level is off only front to back, raise your front wheels or your back wheels by driving up on blocks. Which ones you raise onto blocks depends on what your level is telling you.
3. If your level is off only left to right, raise both of your right wheels or both of your left wheels by driving up on blocks. Which ones you raise onto blocks depends on what your level is telling you.
4. If your level is off a bit both left to right and front to back, adjust by raising the one low corner up on blocks.
Remember that you always want to start out as level as possible.
Note: if the level is way off, and you would need to drive onto a stack of more than three leveling blocks, you need to choose another campsite.
Leveling Your RV With an Auto-Leveling System
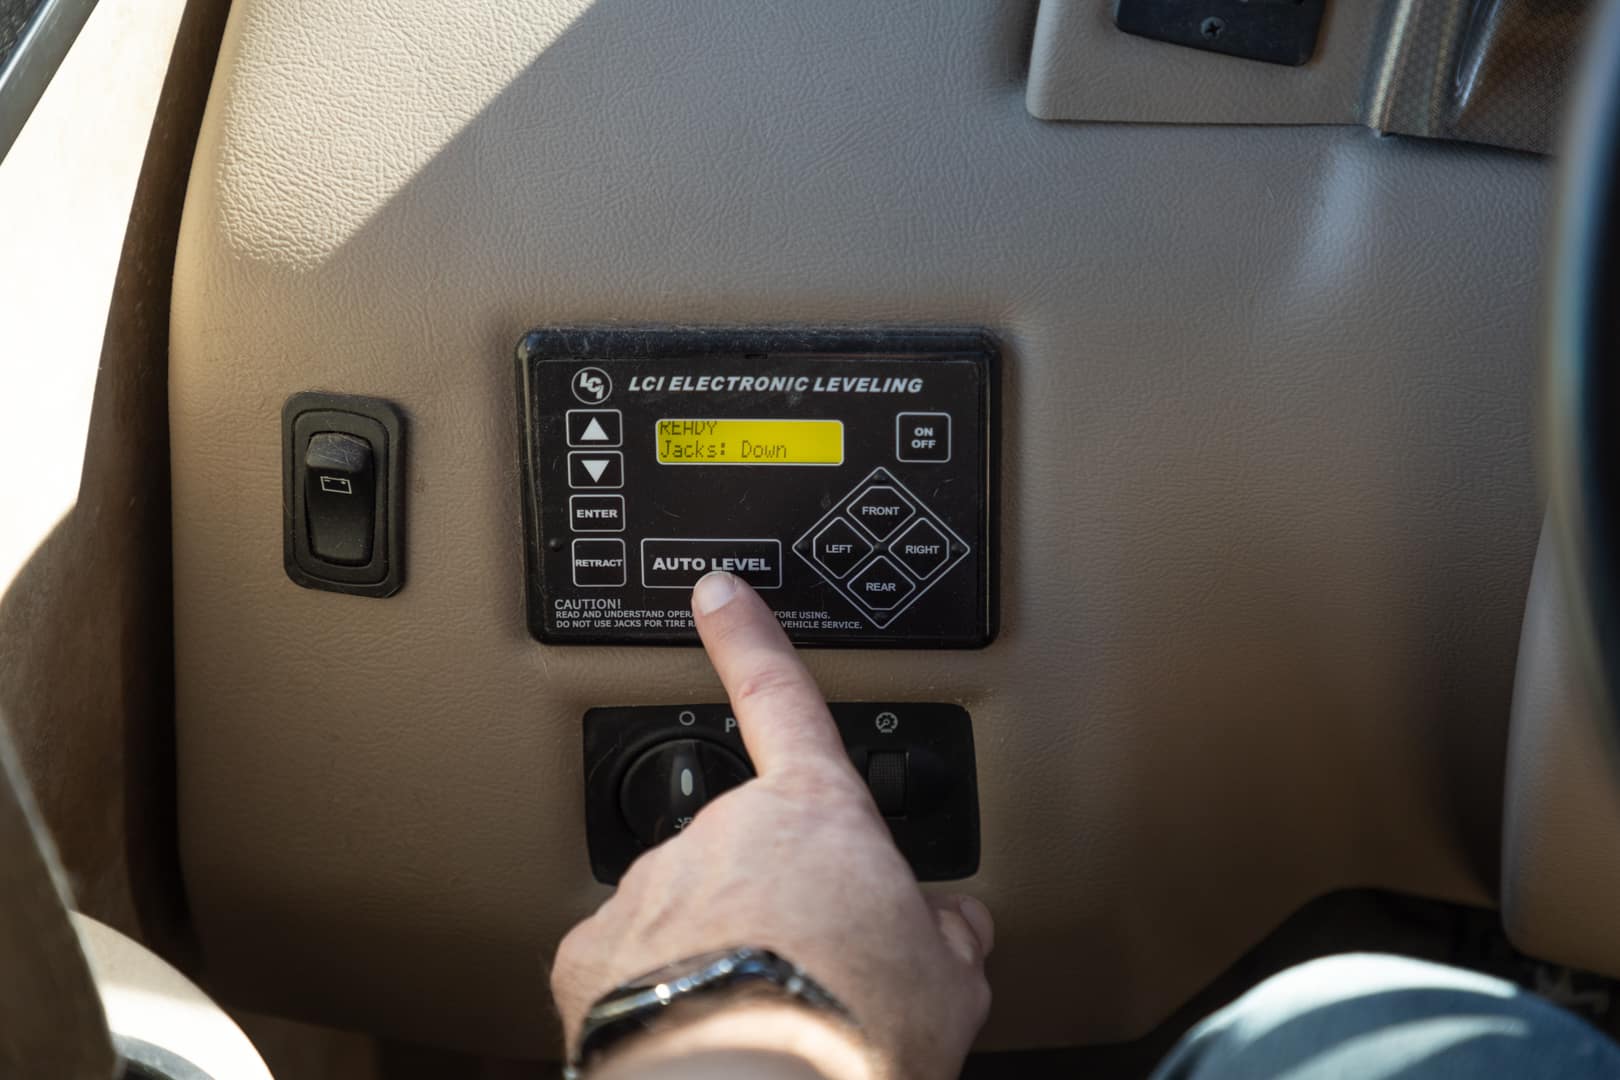
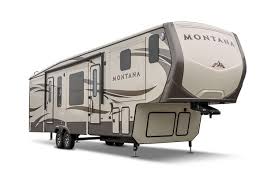
Most Class A’s and some towable RVs are equipped with an Auto-Leveling System or hydraulic leveling system that makes leveling as easy as the push of a button.
These generally make any adjustments you need by using hydraulic jacks to easily raise the low corners of your RV. These systems are great, but you still need to start fairly level, so get your bubble level out and make sure you’re as level as possible before you begin.
1. When you arrive, park the front end of the RV to the downhill side of an uneven campsite or parking space. You want your low corners in the front so that you’ll be leveling by raising the front end of the RV rather than the rear.
IMPORTANT: This is a must because when you’re in Park only your rear wheels are locked. Your RV could roll off the jacks if one or both of the rear wheels is raised off the ground! If you have any doubts, chock your front wheels and use the parking brake if applicable.
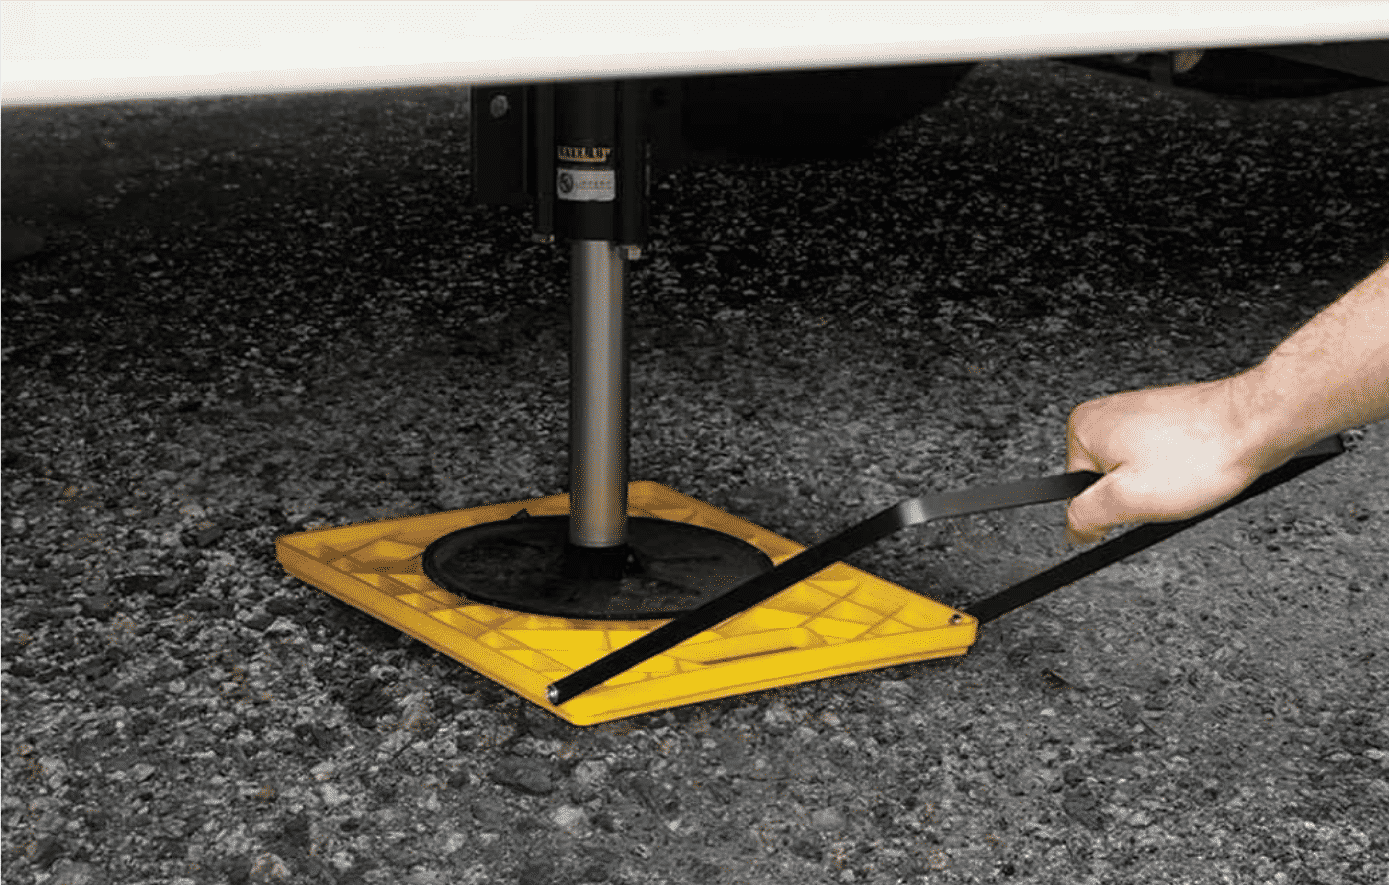
2. Place blocks or jack pads under your jacks. Make sure you’re not about to place your jacks down on an icy or slick surface or the foot pads could slip. TIP: Jack pads prevent your jacks from sinking in and protect the campsite’s parking pad. Remember that jacks can sink on asphalt if it’s hot.
3. Use your control panel to level your RV using your Auto-Leveling System. Your control panel will have lights telling you which corners are low. Use the corresponding buttons to automatically level those.
Each leveling system is going to vary so be sure to read the manuals you receive at the dealership for details on the specific leveling system installed in your RV.
No matter which auto-leveling system you have, never lift your RV wheels beyond the ground when extending your rear stabilizers. Also, remember to check your RV’s manual to find out if your RV needs the slides extended before or after the RV is leveled.
Now that you know how to level your RV, where will you take your RV first? Leave a comment below!
Looking for a place to stay in SW Missouri? Come on by. Blue Skys RV Park has both short term and long term parking. We are a no frills, affordable, family friendly place to stay. Free Wifi and a laundromat. Whether you are looking for overnight, weekly, or long term, Blue Skys RV Park is the place to be. The owners will go above and beyond to make your stay a pleasant one. Check us out: https://blueskysrvpark.com
Related Articles:
- What You Need To Know About Camping In State Parks
- RV Surge Protectors, Do I really Need One?
- Wifi Boosters for Your RV